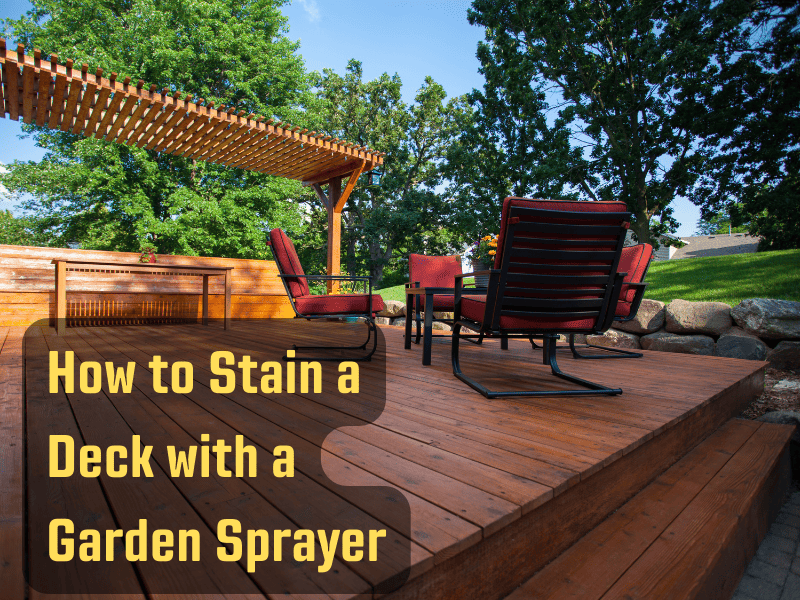
Staining a deck can breathe new life into your outdoor living space. It can restore the vibrant, fresh, and inviting look of the wood that has been lost over time due to exposure to the elements. With a garden sprayer, a tool you might already have in your gardening arsenal, this task becomes much more manageable. In this article, we will delve into the process of how to stain a deck with a garden sprayer, providing you with a detailed step-by-step guide.
Table of Contents
Step 1: Preparing the Deck
Proper preparation is key to achieving a flawless finish. Start by clearing your deck of furniture, grills, and any other objects. Use a deck cleaner or a mixture of bleach and water to clean the surface of the deck. After cleaning, sand any rough spots to ensure the deck is smooth. Proper sanding will not only make the application process smoother but also allow for better adhesion of the stain to the deck surface.
Furthermore, don’t forget to carefully inspect your deck for any nails or screws that may be protruding. These can damage your garden sprayer and can also lead to an uneven stain application. Finally, give your deck ample time to dry before proceeding to the next step. A moisture meter can be a handy tool to ensure your wood is adequately dry.
Step 2: Choosing the Right Stain
Selecting the right stain can influence the look and durability of your deck. Choose an outdoor deck stain, preferably one that is semi-transparent. This type of stain penetrates the wood fibers for optimum protection, while still showcasing the wood grain and texture.
Remember, the color of the stain can dramatically change the appearance of your deck, so take your time to choose a shade that complements your home’s exterior and matches your aesthetic preferences. Also, keep in mind the type of wood your deck is made from; certain woods may require specific types of stain for the best results.
Step 3: Prepping the Garden Sprayer
To use a garden sprayer for this task, you must first ensure it’s clean and free from any residual chemicals. Rinse the tank, hose, and nozzle thoroughly. Next, fill the sprayer with your chosen stain. Make sure to stir the stain before pouring it into the sprayer tank to keep its color consistent.
Consider practicing with water before you start with the actual staining process. This can give you a feel for the sprayer and allow you to adjust the spray pattern and pressure to your liking, thus ensuring an even application of the stain.
Step 4: Applying the Stain
Start spraying from one corner of your deck, working your way towards the opposite side. Hold the sprayer nozzle about a foot from the deck surface, and apply the stain with a consistent sweeping motion. Maintain a steady pace to avoid over-saturating any part of the wood. Remember, it’s better to apply two thin coats than one heavy one.
While spraying, make sure to periodically check your work for any missed spots or uneven patches. It’s easier to address these issues while the stain is still wet. Also, remember to stir your stain occasionally while working to prevent it from settling at the bottom of your garden sprayer.
Step 5: Smoothing the Stain
After spraying, use a paintbrush or roller to smooth the stain and ensure even coverage. This step, known as “back brushing,” helps the stain penetrate more deeply into the wood, reducing drips and streaks.
Back brushing is an essential step and should not be rushed. It’s advisable to have a partner to help with this step – one person can spray while the other follows behind with the brush. This ensures that the stain is smoothed out while it’s still wet, leading to a more even finish.
Step 6: Allow the Stain to Dry
Allow the stain to dry for at least 24 hours before returning furniture or walking on the deck. The actual drying time will depend on the stain product, temperature, and humidity, so always check the stain’s instructions for accurate drying times.
Also, keep an eye on the weather forecast. Rain or high humidity shortly after staining can ruin your hard work. Ideally, choose a day with clear skies and moderate temperatures for your staining project.
Step 7: Cleaning Up
After the staining job is done, take time to clean your garden sprayer thoroughly. Stains are often oil-based, so use a paint thinner or mineral spirits to clean the sprayer components. This will ensure your sprayer is ready for its next use.
Don’t forget to properly dispose of any leftover stain or cleaning materials according to local regulations. Proper clean-up and disposal not only help protect the environment but can also prevent potential staining or damage to your property.
Common Mistakes to Avoid
Several common mistakes can hinder the success of your deck staining project. For example, not allowing the deck to dry sufficiently after cleaning can result in a splotchy stain job. Additionally, over-applying the stain can lead to sticky surfaces and longer drying times. Remember, patience and attention to detail are vital for a job well done.
In addition, take care not to stain your deck in direct sunlight. The heat can cause the stain to dry too quickly, leading to an uneven finish. The best time to stain your deck is in the early morning or late afternoon, when the temperatures are more moderate.
Safety Measures
When working with stains, remember to protect yourself and your surroundings. Wear protective gear such as gloves, goggles, and old clothes. Lay drop cloths around your deck to protect plants and other surfaces from stain splatters.
In addition, make sure your workspace is well-ventilated, especially if you’re using an oil-based stain. These stains can release fumes that can be harmful if inhaled in large quantities.
In conclusion, staining a deck with a garden sprayer can be a satisfying and cost-effective DIY project. With the right preparation and a little patience, you can refresh and protect your deck, enhancing the appeal and longevity of your outdoor living space. Now, with these steps at your fingertips, you’re well-equipped to tackle this task with confidence and precision.