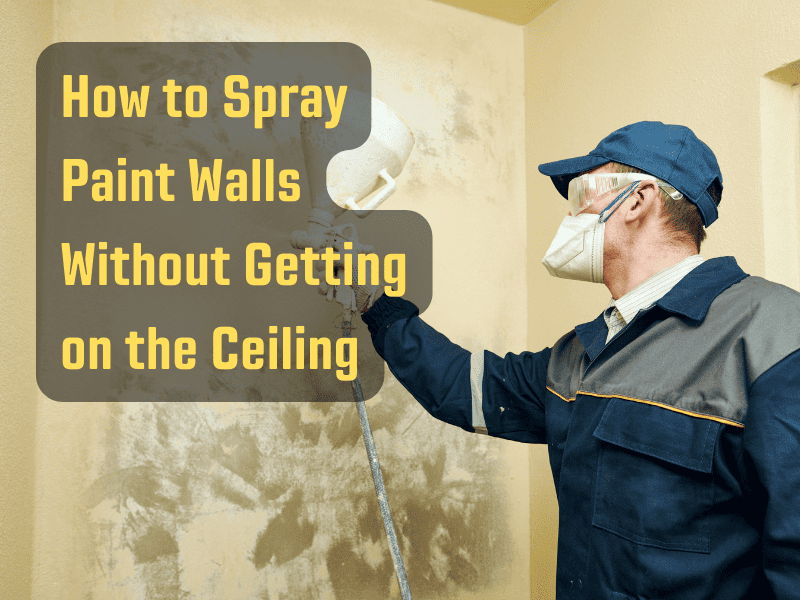
Spray painting a room can quickly and effectively transform the space, providing a smooth, seamless finish that’s hard to achieve with a brush or roller. However, one of the most challenging aspects of spray painting is controlling overspray, particularly when trying to protect the ceiling. This guide will provide you with techniques, strategies, and tips for spray painting your walls without getting any on the ceiling.
Table of Contents
The Preemptive Defense: Protecting the Ceiling
Before we delve into the intricacies of spray painting, we must first address the importance of adequate preparation. Properly preparing your workspace can save you hours of laborious cleaning, and in the case of spray painting, potential damage to your ceiling.
Taping: A Painter’s Best Friend
One of the most effective methods to protect your ceiling is to use painter’s tape. This specially designed tape can adhere to your ceiling without damaging its surface. When applying the tape, allow it to overlap onto the very top of the wall, creating a barrier against any rogue spray paint. It’s crucial to press down on the tape to ensure a snug seal, preventing any paint from seeping underneath.
Plastic Sheeting: The Barrier of Defense
In conjunction with painter’s tape, consider hanging plastic sheeting from the ceiling. This will provide an extra layer of protection and catch any potential droplets that may have otherwise found their way onto your ceiling. Secure the sheeting properly to prevent it from falling down or swaying during your work, which might expose the ceiling or disrupt your painting process.
Equipping Yourself: The Right Tools Make All the Difference
You wouldn’t go into battle without the right armor, and the same applies to painting. Let’s examine the tools that will equip you for a clean, efficient paint job.
The Spray Shield: Your Defensive Shield in Battle
When it comes to spray painting, a spray shield is a game-changer. This tool, which is essentially a flat piece of material attached to a handle, acts as a physical barrier between your spray paint and the ceiling. By positioning it where the wall meets the ceiling, it will catch any upward-bound droplets.
Spray shields come in various materials such as aluminum or cardboard, and they’re available in different sizes to accommodate your needs. Some even have an adjustable handle, allowing you to work comfortably regardless of the wall’s height.
The Spray Gun: Your Weapon of Choice
Selecting a quality spray gun is crucial for a successful painting project. Not all spray guns are created equal, so consider these features when choosing your tool:
Pressure Control: A spray gun with adjustable pressure is highly recommended. The ability to control the paint’s flow rate gives you the power to minimize overspray and maintain precision.
Nozzle Size and Type: The nozzle size and type determine the pattern and volume of paint emitted from the gun. A smaller nozzle provides a narrower spray pattern, which allows for more detailed work. Larger nozzles offer a broader spray pattern suitable for painting large surfaces quickly.
Ease of Cleaning: Spray painting can be a messy job. Choosing a spray gun that’s easy to disassemble and clean will make your post-painting cleanup much easier and prolong the life of the tool.
The Mastery of Execution: Perfecting the Spray Painting Technique
With your ceiling protected and your tools at the ready, it’s time to dive into the art of spray painting. The secret to avoiding ceiling overspray lies in mastering the technique.
The Art of Angling
When you’re ready to spray paint, it’s instinctual to point the nozzle straight at the wall. But in fact, angling the spray gun slightly downward utilizes gravity to your
advantage, pulling the droplets down instead of allowing them to float upwards towards the ceiling.
A Study in Consistency
Another critical factor in avoiding ceiling overspray is maintaining consistency. This includes holding the spray gun perpendicular to the wall, keeping a steady hand, and preserving a uniform distance from the wall as you paint.
Starting and finishing your strokes off the edge of the wall prevents a buildup of excess paint that can lead to drips or a patchy appearance. Implementing a wrist-flicking motion at the beginning and end of each stroke can aid in applying an even layer of paint.
The Importance of Light Coats
When spray painting, patience truly is a virtue. It’s tempting to try and cover the wall in one heavy coat, but this is more likely to result in a paint mist that can reach the ceiling. Instead, aim for several light coats, allowing each one to dry before applying the next. This technique reduces the likelihood of ceiling overspray and provides a smoother, more professional finish.
The Final Touch: Clean-Up and Touch-Ups
Even with the best preparation, tools, and techniques, minor overspray on the ceiling can happen. However, there’s no need to panic. Here’s how to handle it:
Once the paint on your walls is dry, gently wipe away any unwanted paint on the ceiling using a clean, damp cloth. If the paint has dried on the ceiling, a gentle scrape with a paint scraper can remove it.
After your clean-up, if you notice any areas on the walls that need touch-ups, use a small brush to apply the paint. This gives you greater control and reduces the risk of additional overspray.
In Conclusion
Spray painting walls without getting paint on the ceiling is an attainable goal that requires a mix of preparation, the right tools, and a mastery of technique. By following these tips and strategies, you can transform your room with a fresh coat of spray paint, achieving a professional, polished result with the added satisfaction of having done it yourself. With patience and practice, you can master the craft of spray painting and avoid the common pitfall of ceiling overspray. Happy painting!
