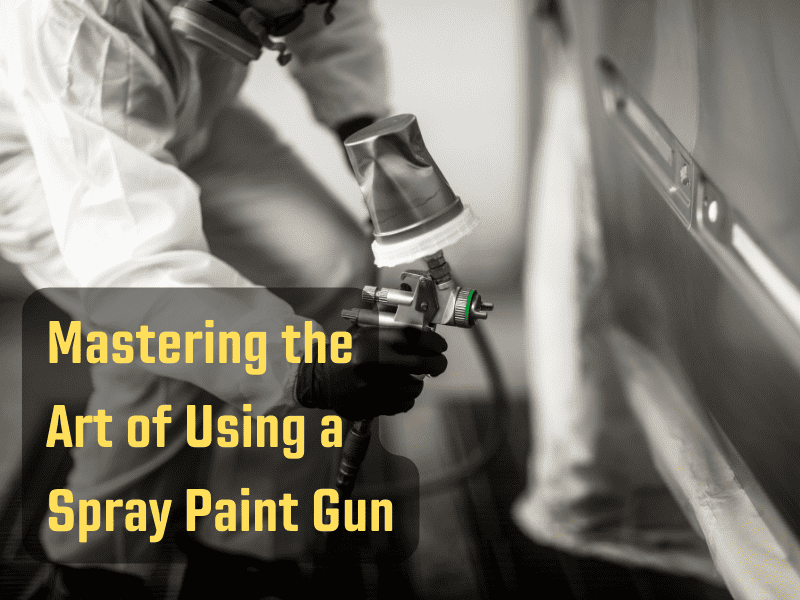
Spray paint guns have indeed changed the game in the painting industry. Their ability to quickly deliver even coats of paint makes them invaluable tools for professionals and DIY enthusiasts alike. However, to maximize their potential, users need to familiarize themselves with the intricacies of their operation.
Table of Contents
Understanding the Anatomy of a Spray Paint Gun
Understanding the components of a spray paint gun is the first step toward mastering its operation. Here are the most essential parts:
- Fluid Tip: This is where the paint exits the gun. Different-sized tips are used depending on the thickness of the paint.
- Air Cap: Situated around the fluid tip, the air cap directs compressed air to atomize the paint as it leaves the gun.
- Needle: The needle controls the flow of paint from the fluid tip.
- Spray Gun Body: This part houses the controls for adjusting the spray pattern and flow of the paint.
- Trigger: Pulling the trigger releases paint from the gun.
- Paint Container: This holds the paint that will be sprayed. Depending on the design, it can be located either on the top or the bottom of the gun.
The Key to Prepping Your Spray Paint Gun
Preparation is crucial when using a spray paint gun. First, ensure the gun is clean. Any residual paint or dust can affect your paint job and the performance of the gun. Use appropriate cleaning solutions and brushes to thoroughly clean all parts of the gun.
Next, strain your paint. Unwanted particles or clumps in your paint can cause clogs in your spray gun, leading to an uneven finish or a dysfunctional gun. Using a paint strainer before loading the paint into the container can help avoid these issues.
Perfecting the Art of Mixing and Thinning
Not all paints are created equal, and some require thinning before they can be used in a spray gun. This is because thick paints can clog the gun’s nozzle, resulting in an uneven spray.
To thin your paint, you’ll need to add a certain amount of thinner (water for latex paints, mineral spirits for oil-based paints) to the paint. The exact ratio will depend on the type of paint you’re using, so be sure to check the manufacturer’s instructions.
A good rule of thumb is to start with a 4:1 ratio of paint to thinner, then adjust as necessary. The paint should be thin enough to pour freely but not so thin that it drips or runs.
Setting up the Spray Gun: It’s More Than Just Loading Paint
Attach the paint container to the gun once your paint is mixed and ready. But before you start spraying, you need to adjust your spray gun’s settings.
The fluid control regulates how much paint is sprayed, and the fan control adjusts the width of the spray pattern. You can manipulate these settings to match your project’s needs.
Also, pay attention to the air pressure. Higher air pressure will result in a finer paint atomization, giving a smoother finish, while lower pressures will produce a thicker, more textured finish.
Mastering the Spraying Technique
The way you handle the spray gun greatly affects the quality of your finish. Hold the gun approximately 6-8 inches from your painting surface, and always keep it perpendicular to the surface.
Your movements should be steady and consistent. Move the gun in parallel strokes with the surface, and avoid swinging it in an arc, as this can result in uneven coverage.
The Importance of Overlapping and Multiple Coats
When painting with a spray gun, apply the paint in a series of overlapping strokes, with each pass covering the previous one by about 50%. This will ensure uniform coverage with no visible lines or patches.
Also, remember that it’s better to apply several thin coats of paint rather than one thick one. Thicker coats are more likely to run or sag, ruining your finish. Allow each coat to dry before applying the next.
Cleaning and Maintenance: Ensuring Longevity of Your Spray Gun
After you’ve finished your painting project, it’s essential to clean your spray gun promptly. Leftover paint can harden in the gun, causing clogs and making it difficult to clean later.
Disassemble the gun and clean each component using a suitable cleaning solution (water for water-based paints, mineral spirits for oil-based). Make sure to clear the fluid tip and needle of any residue.
Regular cleaning and maintenance will ensure your gun is ready for its next use and prolong its lifespan.
Common Mistakes and How to Avoid Them
Several common mistakes can ruin your paint job. For example, holding the gun too close or far from the surface can cause runs or uneven coverage. Moving the gun too fast can result in a thin coat while moving it too slow can cause the paint to accumulate and drip.
Always remember to apply the paint in overlapping strokes for even coverage and maintain a steady, controlled pace.
Safety First: The Forgotten Aspect
Last but not least, don’t forget the necessary safety precautions when using a spray paint gun. Wear safety glasses to protect your eyes and a mask to avoid inhaling paint fumes. Make sure to spray in a well-ventilated area and keep all paints and solvents away from heat sources or open flames.
Mastering the use of a spray paint gun requires practice and patience. But once you’ve gotten the hang of it, you’ll appreciate the smooth, professional-grade finishes it delivers.
